


How to use
Four steps. Then the floor runs itself.
Name the place, count the tables, print the QRs — usually under two minutes. No app store. The guest uses the browser. Each step opens a real page.
Walkthrough
01
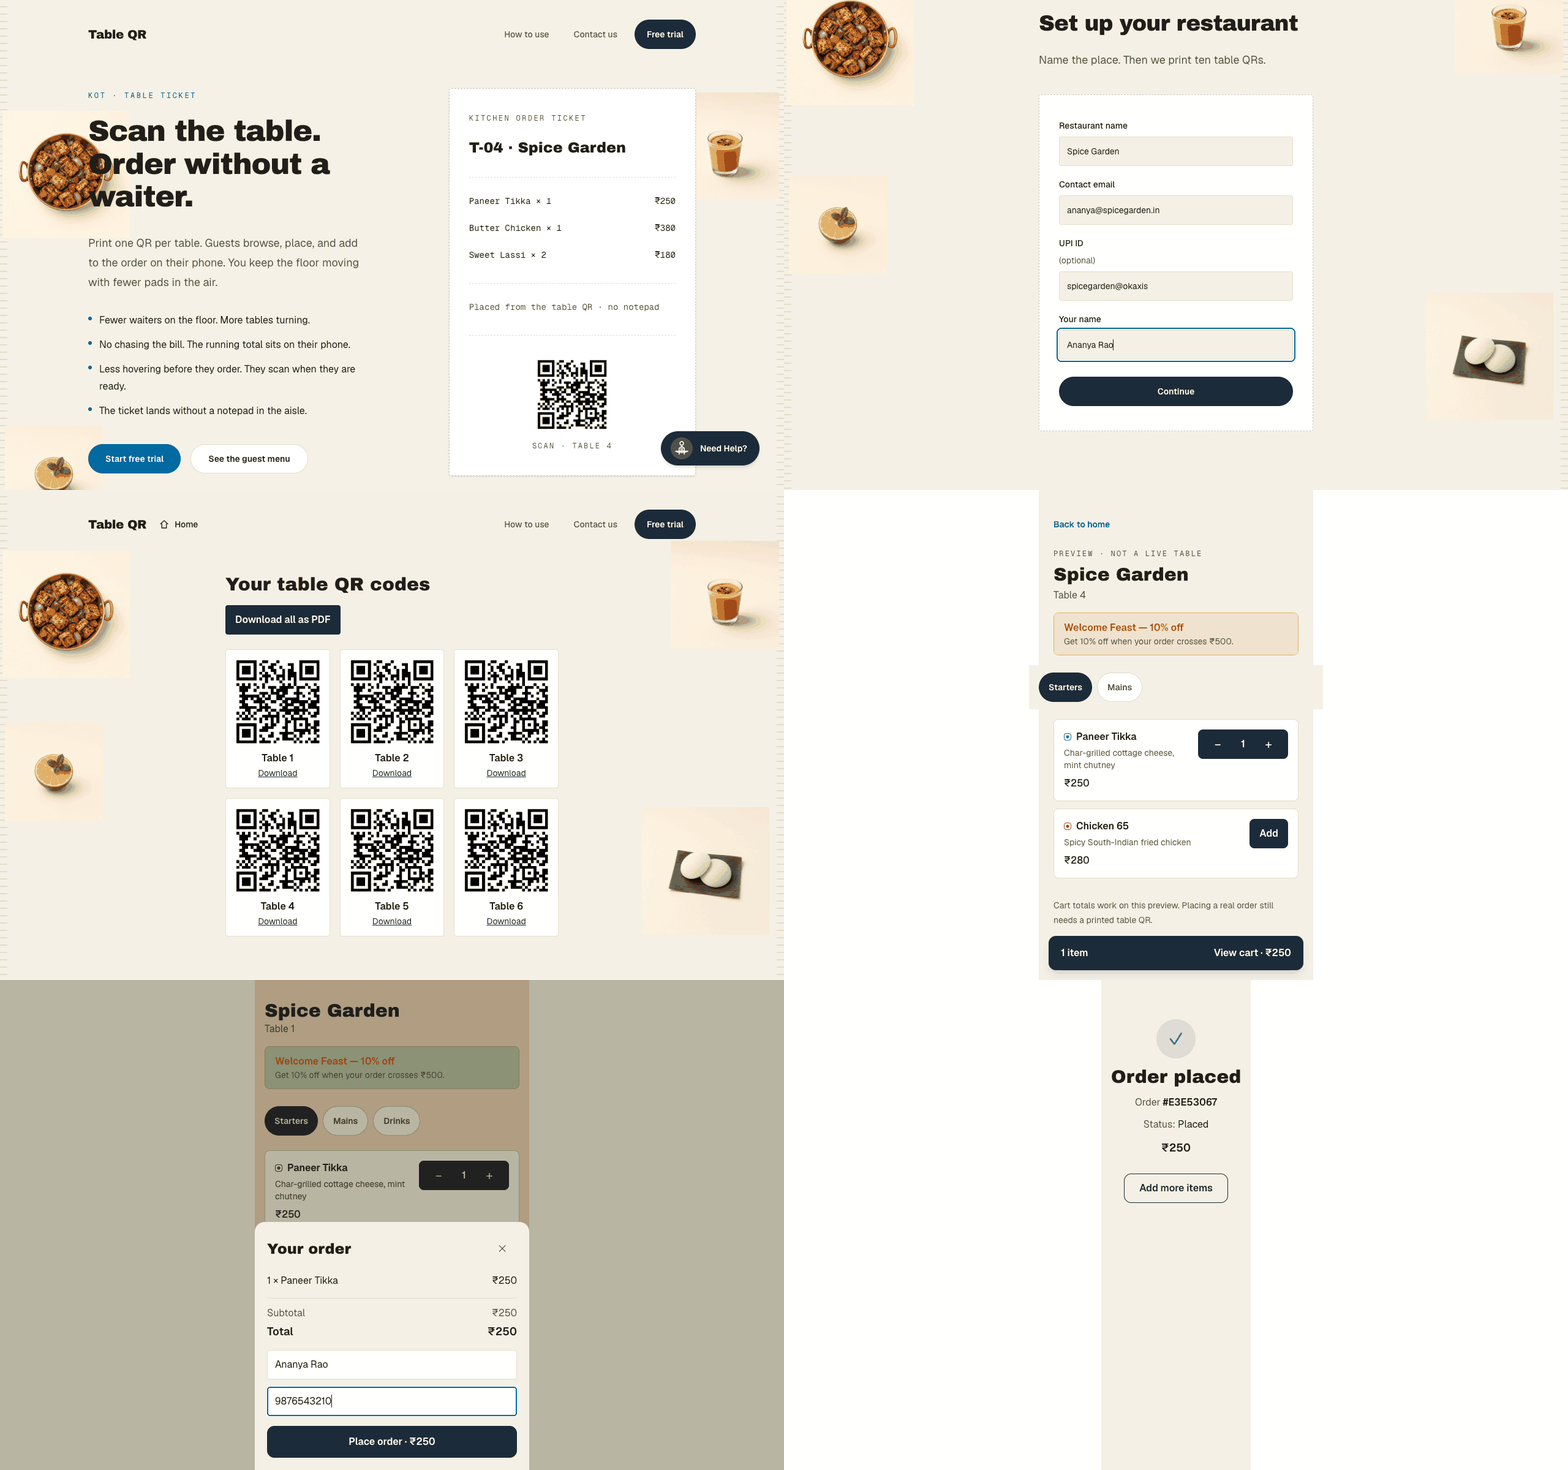
Set up the restaurant
Name, email, a password you can remember, and optional UPI. That creates the owner account — usually the first minute.
Open setupRestaurant name
Contact email
Password
Continue
02
Print one QR per table
Continue prints ten table QRs by default. Change the count if you need to, then stick a code on each table.
Set table countTables: 10
Generate tables & QR codes
03
Guests scan and order
The phone becomes the menu and the notepad. This guest menu is a preview; live orders still start from a printed table QR.
See the guest menuTable 4 · Spice Garden
Paneer Tikka ₹250
View cart
04
Invite the desk
Add a waiter or helper by email once you are signed in as owner so someone at the counter can see what is coming in.
Invite staffStaff email
Display name
Temporary password
Send invite